Professional, Polished, Presentable > Act III > 09: Design Components
09: Design Components
By Garrick Aden-Buie & Silvia Canelón
Topic
Consistency of color, size and font makes it easier for the audience to engage with your presentation. In this section, we’ll explore several options for creating reusable design components that make it easier to establish consistency with your own design language.
Activity
| Time | 10 minutes |
| Quote Slide | 09-design-components/quote/09-quote-start.Rmd |
| Slide Templates | 09-design-components/template/09-template-start.Rmd |
| Activity Mode | Break out room & work on your own |
Choose one of the following two options for this activity:
Create a slide style for inspirational or thought-provoking quotes. Difficulty: mild
Create a re-usable slide template with an image sidebar. Difficulty: intermediate
Quote Slide
The goal of this activity is to create a slide style that showcases a quote. We’ll start with the first example below and end with a slide style that helps the audience focus on your quote.
Start
Example 1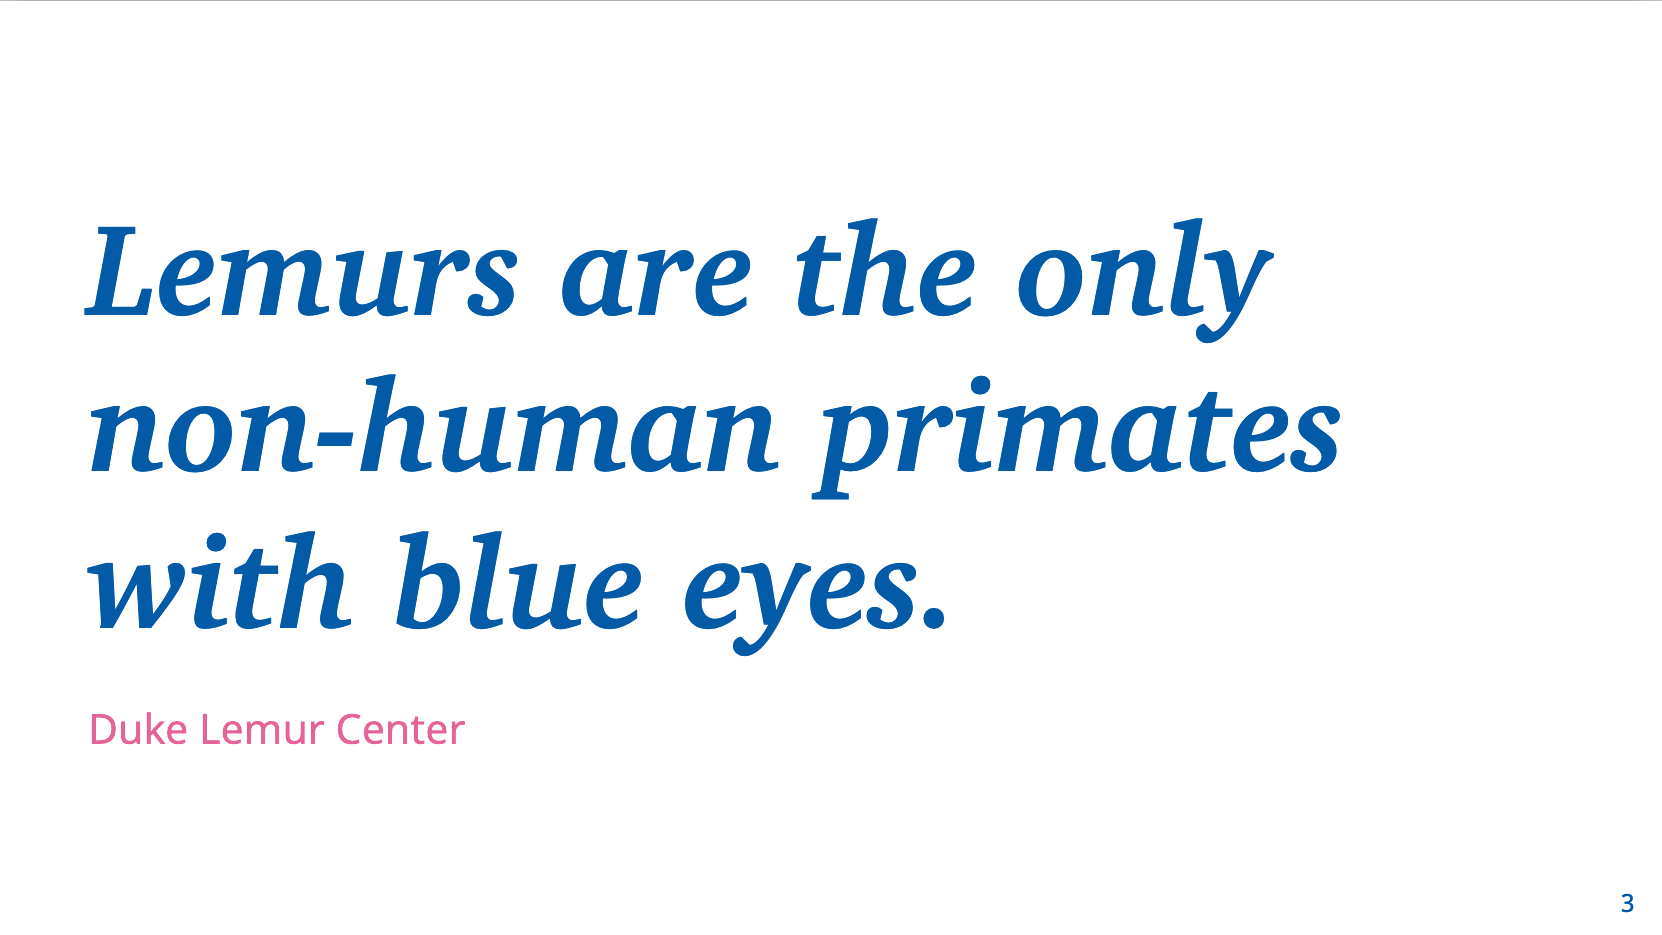
Example 2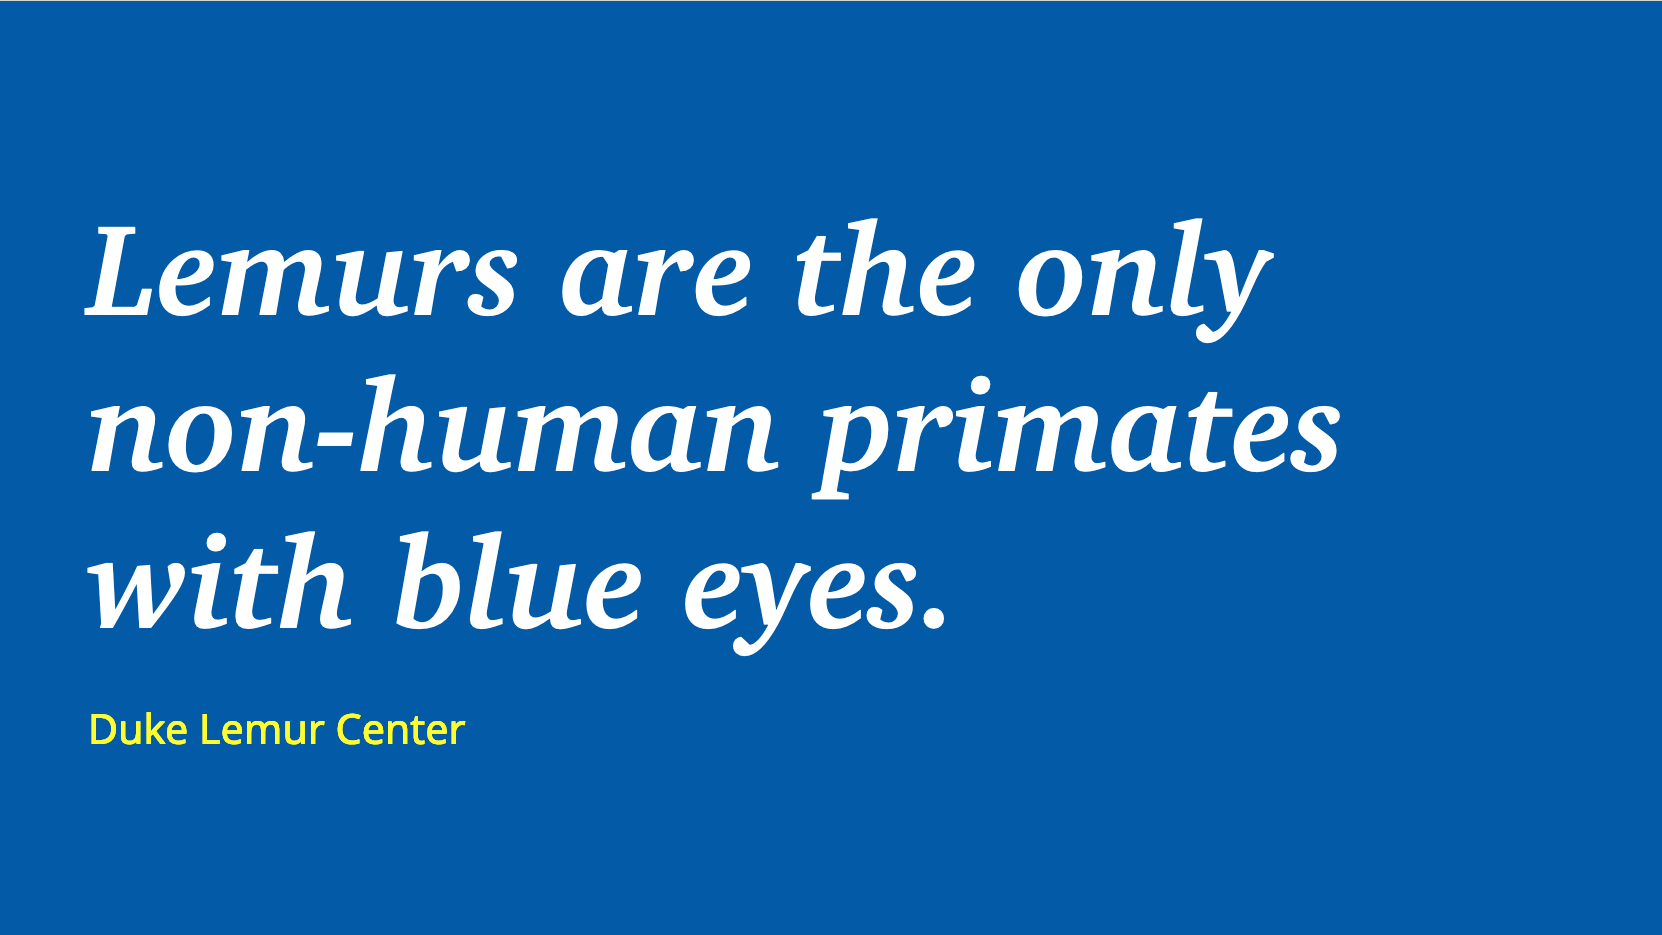
Restart your R session and open the files for this activity.
- Slides:
09-design-components/quote/09-quote-start.Rmd - CSS file:
09-design-components/quote/quote.css
Start ininite_moon_reader() and explore the demo slides.
These slides use a xaringanthemer theme and an extra CSS file quote.css.
output:
  xaringan::moon_reader:
    css: [xaringan-themer.css, quote.css]
Notice that we’re using style_duo_accent() with a primary and secondary color.
We’ve also added additional colors named yellow and pink using the colors argument.
library(xaringanthemer)
style_duo_accent(
  primary_color = "#035AA6",
  secondary_color = "#03A696",
  colors = c(yellow = "#FFFC31", pink = "#E56399")
)
The final slide in this example presentation contains our quote.
We’ve given that slide a quote class
and we’ve also marked the attribution line with an .attribution[].
---
class: quote middle

Lemurs are the only non-human primates with blue eyes.

.attribution[
[Duke Lemur Center](https://lemur.duke.edu/discover/meet-the-lemurs/blue-eyed-black-lemur/)
]
Set Font Sizes
Let’s tackle the first part of the challenge:
making text on a quote slide extra large.
At this stage, we need to write some CSS:
You can choose to write the CSS in the
quote.cssfile. When you save the file, the slides will update and you’ll see your changes applied.You could write your CSS in the slides’
.Rmdfile inside<style></style>tags. You’ll see your changes applied live, but you might need to save the file occassionally. At the end, you can copy the CSS intoquote.css.
Pick a font size for the quote text.
- Add a
.quoteclass to your CSS. - Use
font-size:to pick a font size. I liked4.75embut you might like another size better.
Checkpoint
.quote {
  font-size: 4.75em;
}
Pick a font size for the attribution text.
In the previous step, we also scaled the attribution text, but we don’t want it to be that large.
Add a .quote .attribution CSS rule that sets the font size to something smaller.
Do you need to use em or px units?
em vs px
You might have thought that setting font-size: 1.5em;
would make the attribution text 1.5 times our typical slide font size.
But if you used em, the font size is then relative to the parent element,
and we’ve just changed the size of all slide text to be 4.75 times larger!
One way to get around this is to set the font size in pixels. It works, but if you decide to change the base font size, you’d need to update this rule in your CSS, too.
In the next step we’ll see how to scale the font size in a robust way without changing our slide text size.
Be more specific and more relative with the text size.
Our best case scenario is to have relative units for the text size.
This means that both font-size: properties should be set to em, or relative text units.
To achieve this, we need to be a little more specific with our CSS rule for the quote text.
Instead of .quote, use .quote > p
.quote > p {
  font-size: 4.75em;
}
and you can now change the font-size: property of .quote .attribution to em as well.
.quote .attribution {
  font-size: 1.5em;
}
Why does this work?
For two reasons.
First, remarkjs puts each block of text inside a paragraph tag, <p>.
Event the attribution text is inside a <p> tag, but it’s contained inside a parent <div> with the attribution class.
Slide Markdown
Lemurs are the only non-human primates with blue eyes.

.attribution[
[Duke Lemur Center](https://lemur.duke.edu/discover/meet-the-lemurs/blue-eyed-black-lemur/)
]
Slide HTML
<div class="remark-slide-content quote middle">
  <p>Lemurs are the only non-human primates with blue eyes.</p>
  <div class="attribution">
    <p><a href="https://lemur.duke.edu/discover/meet-the-lemurs/blue-eyed-black-lemur/" target="_blank">Duke Lemur Center</a></p>
  </div>
</div>
The > operator in CSS rules means a direct child of ….
If we read .quote > p from right to left,
we’re looking for <p> tags that are direct children of elements with the .quote class.
In our case, only plain text on a .quote slide will be in a <p> tag directly below the slide container with the .quote class.
Set Colors
In this step, we’ll use CSS variables to set the colors of the quote and attribution text.
Set the color property for the quote text.
When you use the style_duo_*() functions,
xaringanthemer add CSS variables for
the primary and secondary colors.
It also creates CSS variables for any colors in the colors argument.
Choose from the following and add them to your .quote > p rule.
color: var(--primary);color: var(--secondary);color: var(--yellow);color: var(--pink);
Set the color property for the attribution text.
Because we’re using a link in the attribution text, we need to add a new CSS rule.
How would you add a CSS that targets an <a> element within an .attribution element with a .quote slide?
Create a rule for this element and set the color: property using the examples above.
Checkpoint
.quote .attribution a {
  color: var(--pink);
}
Adjust spacing
At this point, your CSS should look something like this:
.quote > p {
  font-size: 4.75em;
  color: var(--primary);
}
.quote .attribution {
  font-size: 1.5em;
}
.quote .attribution a {
  color: var(--pink);
}
But there’s an awfully large space between the quote and attribution text. Let’ adjust that by adjusting the margin of paragraphs in the quote slides.
Set the margin: property of .quote > p.
We’re going to use a shortcut here.
The margin: property is flexible.
If you give it two values, it uses those values for the vertical and horizontal margins respectively.
Set the vertical margin to 0.2em and the horizontal margin to 0.
Checkpoint
margin: 0.2em 0;
Adjust the quote font
We’re almost there, let’s just adjust the font style of the quote text.
Choose any or all of the following steps to get your quote font looking just right.
Apply all of the following to the .quote > p rule.
Set the font-family: property.
By default, the font family of the quote text is the default slide text family,
which was set by text_font_family_google in style_duo_accent().
xaringanthemer creates CSS variables for the heading and text font families,
so you can use the heading family with:
font-family: var(--heading-font-family);
Alternatively, you can use a serif font, like Charter.
(This font tends to be available on all systems, but it’s a good idea to provide a fallback.)
font-family: Charter, serif;
If you’d like to use a font from Google, check out the instructions in the Extras section.
Make the quote font italic.
Set the font-style: property to italic.
Make the quote font bold.
Set the font-weight: property to bold or 700.
Checkpoint
.quote > p {
  color: var(--primary);
  font-size: 4.75em;
  margin: 0.2em 0;
  font-family: Charter, serif;
  font-style: italic;
  font-weight: 700;
  line-height: 1.2;
}
.quote .attribution {
  font-size: 1.5em;
}
.quote .attribution a {
  color: var(--pink);
}
Extras
Congratulations on your great looking quote slide! If you’d like to keep tinkering, here are a few more things you can try out.
Change the background color of the quote slide.
xaringan provides a helpful inverse slide class.
Create CSS rules that invert the colors of the quote slide when inverse is included in the slide’s classes.
---
class: quote middle inverse
First, add a new rule to change the background-color: property of any .quote with .inverse slides.
When they reference the same element, there are no spaces between the selectors:
.quote.inverse {
  background-color: ____;
}
Now change the text colors for the inverse quote slides.
You don’t have to rewrite everything!
Instead, find all of the CSS rules that change the color property.
Copy the selectors into new rules, and update the selector to include .inverse and .quote on the same element.
New Rules
.inverse.quote > p {
  color: var(--primary);
}
.inverse.quote .attribution a {
   color: var(--pink);
}
Checkpoint
.inverse.quote {
  background-color: var(--primary);
}
.inverse.quote > p {
  color: white;
}
.inverse.quote .attribution a {
  color: var(--yellow);
}
Try using a different font for the quote text.
Browse Google Fonts to pick a font style that you like.
Add the new font to your theme.
You can include extra fonts in your xaringanthemer theme using the extra_fonts argument in the style_ functions.
extra_fonts = list(google_font("PT Serif"))
Use the new font in for your quote paragraph text.
font-family: 'PT Serif', Charter;
Pick new colors for your theme.
Use
coolors to
generate a random color palette
or
browse trending color palettes.
Update the primary and secondary color arguments
and add additional colors to the colors vector.
If you used var(--primary) or var(--secondary) for any color: property in your CSS,
those colors will update automatically when you change the theme colors!
If you added colors to the colors argument,
you might need to update the CSS variable to match the name you gave the color.
Slide Templates
In this activity, we’ll create a re-usable slide template. This feature combines advanced xaringan slide-building skills with a bit of CSS.
Start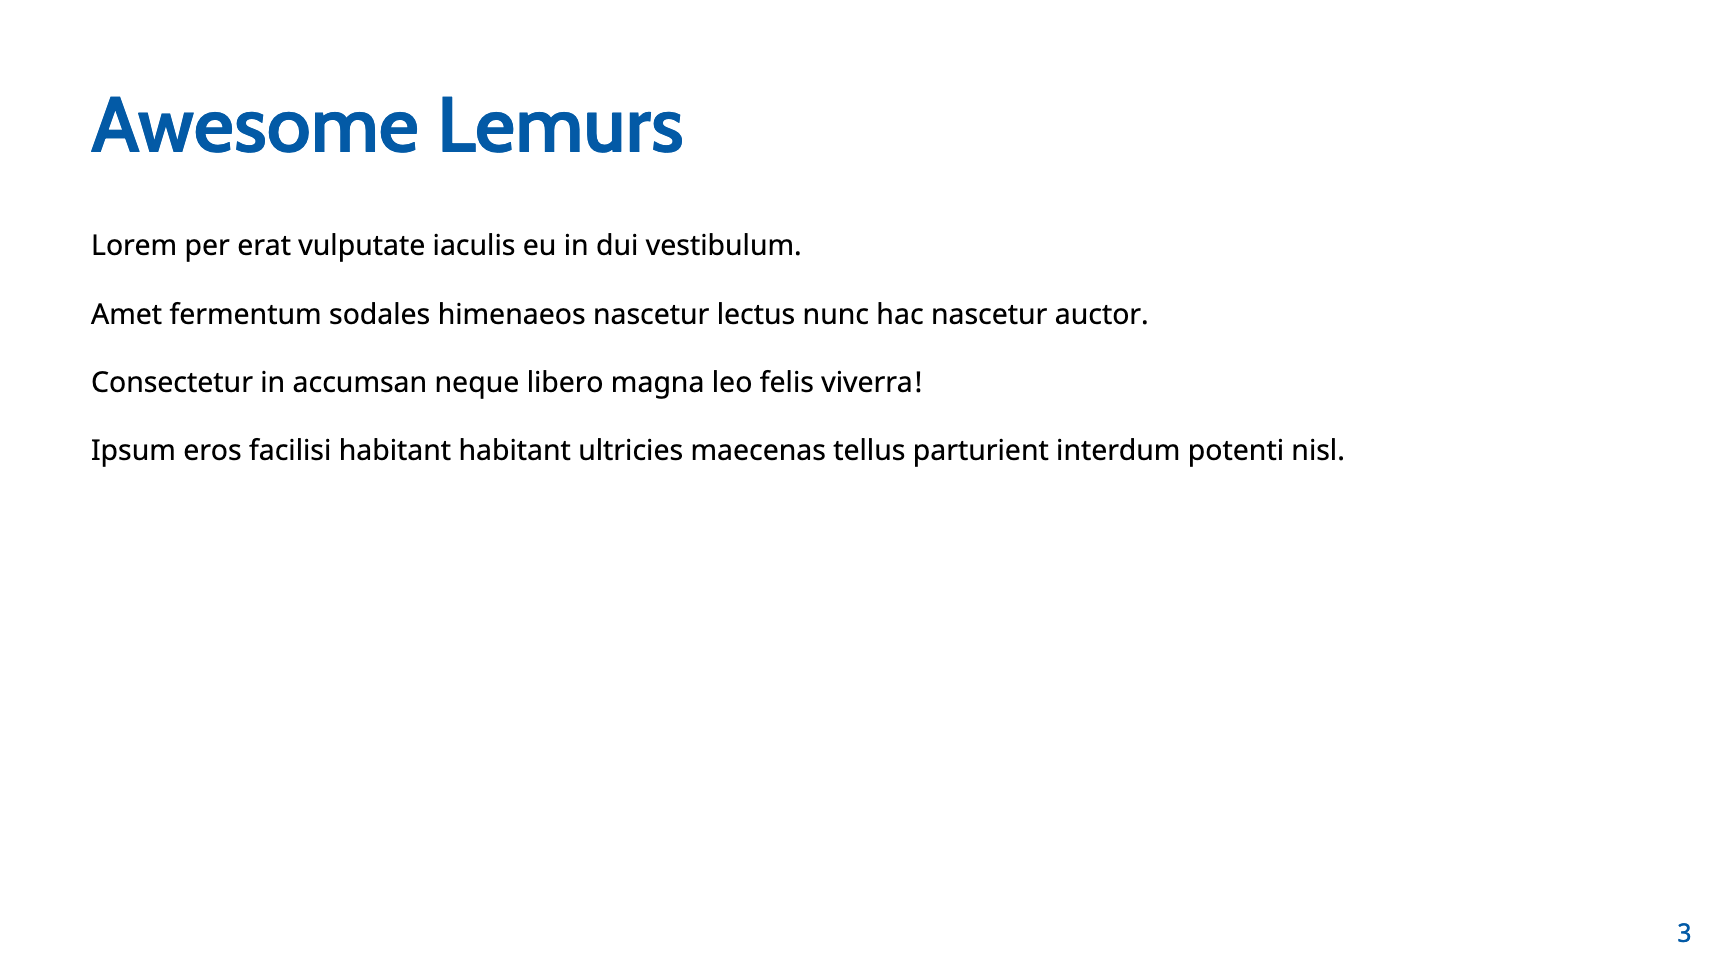
Template
Applied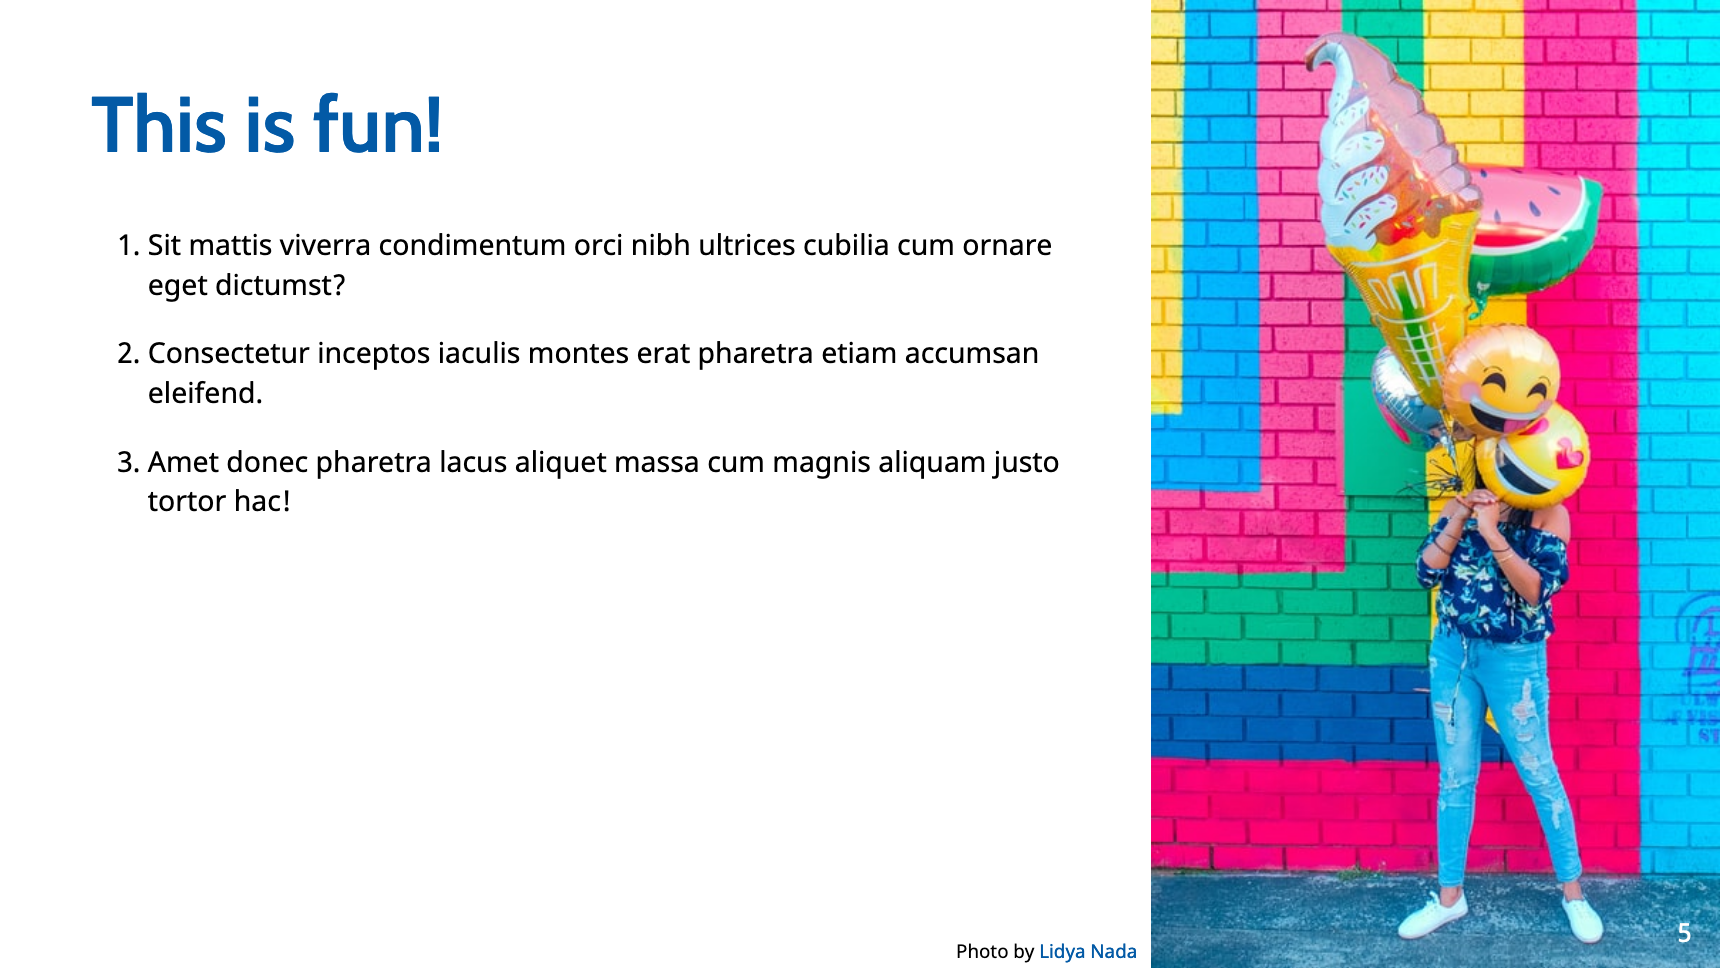
Restart your R session and open the files for this activity.
- Slides:
09-design-components/template/09-template-start.Rmd - CSS file:
09-design-components/template/template.css
Start ininite_moon_reader() and explore the demo slides.
These slides use a xaringanthemer theme and an extra CSS file template.css.
output:
  xaringan::moon_reader:
    css: [xaringan-themer.css, template.css]
    nature:
      ratio: 16:9
The final slide in this example presentation contains our slide, but it’s kind of boring.
We’ve given that slide a image-sidebar-right class but that’s about it.
---
class: image-sidebar-right

# Awesome Lemurs

Lorem per erat vulputate iaculis eu in dui vestibulum.
Add a background image
Add a background image from unsplash.
Let’s use this picture of a lemur by Zdeněk Macháček.
We can use the https://source.unsplash.com trick:
https://source.unsplash.com/{{unsplash_id}}/
Since this photo has id 83gB_koMuvA, we can add the following to the slide properties:
background-image: url(background-image: url(https://source.unsplash.com/83gB_koMuvA))
Set the size of the background image.
With just background-image, the lemur picture is too big and it takes up the entire slide.
We’d like it to take up just 400px on the right side.
How tall should the image be?
To find out, open the slides in a browser and use Inpsect Element on the slide.
Look for the <div> with class remark-slide-scaler.
The style attribute on this element tells you how big the “native” slide is.
Slide Scaler HTML
<div class="remark-slide-scaler" style="width: 1210px; height: 681px; transform: scale(0.664463); left: 0px; top: 444.25px;">
  <div class="remark-slide"><div class="remark-slide-content image-sidebar-right hljs-github">
    <h1 id="awesome-lemurs">Awesome Lemurs</h1>
    <p>Lorem per erat vulputate iaculis eu in dui vestibulum.</p>
    <p>Amet fermentum sodales himenaeos nascetur lectus nunc hac nascetur auctor.</p>
    <p>Consectetur in accumsan neque libero magna leo felis viverra!</p>
    <p>Ipsum eros facilisi habitant habitant ultricies maecenas tellus parturient interdum potenti nisl.</p>
    <div class="remark-slide-number">3</div></div>
  </div>
</div>
Now that you know the slide size, add /400x{{height}} to the end of the slide’s background-image URL.
And for good measure, also add a background-size property (this one needs px units, e.g. 400px {{height}}px).
Checkpoint
background-image: url(https://source.unsplash.com/83gB_koMuvA/400x681)
background-size: 400px 681px
Position the background image on the right.
Checkpoint
background-position: right
Improve the accessibility of the slide
The slide looks a little more interesting — there’s at least a background image! But we’re missing some key ingredients:
- We want to include attribution text to give credit to the photographer.
- Because we used a background image, we would like to add alt text for screen readers to describe the image.
Add attribution text to the slides.
Tell the audience the photo was by Zdeněk Macháček who can be found at https://unsplash.com/@zmachacek.
Put the attribution text inside an .attribution div so that we can style it specifically.
Checkpoint
.attribution[
Photo by [Zdeněk Macháček](https://unsplash.com/@zmachacek)
]
Add a screen-readable description of the slide’s background image.
Add a <span> with role="img" and an aria-label attribute describing the image.
Start the description with Slide background shows: and then write a complete sentence describing the image.
Put this <span> at the top of the slide content,
just after the slide properties,
to ensure that it’s read out loud when entering the slide.
Checkpoint
<span role="img" aria-label="Slide background shows: A lemur standing on a tree stump, looking directly at the camera."></span>
Style the slide
We now have the content in place, but we still need to do a little work on the appearance of our slide. We need to:
- add padding to the slide area so that the slide text and other objects stay out of the sidebar
- make the slide number white so it’s still visible
- move the attribution to the right spot on the slide
Write a CSS rule for our .image-sidebar-right slide to add 450 pixels of padding on the right side.
Checkpoint
.image-sidebar-right {
  padding-right: 450px;
}
Make the slide numbers white on the .image-sidebar-right slides.
Use the browser tools to find the class given to the element containing slide numbers in remarkjs slides.
Checkpoint
.image-sidebar-right .remark-slide-number {
  color: white;
}
Position the attribution in the right spot.
Use absolute positioning to place the attribution on the bottom of slide and a bit to the right of the left edge of the sidebar image.
While you’re working on the attribution, make the attribution text two-thirds of the slide text size.
Checkpoint
.image-sidebar-right .attribution {
  position: absolute;
  bottom: -0.75em;
  right: 410px;
  font-size: 0.66em;
}
Make it a layout
Now that’s one great-looking slide! We’d love to be able to use it in other places without having to copy and paste the markdown each time we want to use it. In this step, we’ll use layout slides for our first iteration of re-use.
Add layout: true to the image-sidebar-right slide.
Checkpoint
---
layout: true
name: image-sidebar-right
class: image-sidebar-right
Move the slide content to a new slide. Leave the background image description and the attribution text in the slide layout portion.
When you’ve finished, save your slides so that infinite moon reader re-renders your slides. They should looke the same!
Checkpoint
---
layout: true
name: image-sidebar-right
class: image-sidebar-right
background-image: url(https://source.unsplash.com/83gB_koMuvA/400x681)
background-size: 400px 681px
background-position: right

<span role="img" aria-label="Slide background shows: A lemur standing on a tree stump, looking directly at the camera."></span>

.attribution[
Photo by [Zdeněk Macháček](https://unsplash.com/@zmachacek)
]

---

# Awesome Lemurs

Lorem per erat vulputate iaculis eu in dui vestibulum.
Add a third slide with new content.
This new slide will have different content but will still have the same sidebar image and attribution text. Here’s some generic slide content for you to use:
---

# This is fun!

1. Sit mattis viverra condimentum orci nibh ultrices cubilia cum ornare eget dictumst?

1. Consectetur inceptos iaculis montes erat pharetra etiam accumsan eleifend.

1. Amet donec pharetra lacus aliquet massa cum magnis aliquam justo tortor hac!
Add a new slide between the two slides, but that doesn’t use the same layout.
---
layout: false

# Other content ...
Because layout slides are “chained,” ] if we add a non-layout slide into the mix it breaks the layout. Our This is fun! slide that we added in the task above is no longer as fun.
Make it a template
To get around the limitations of layout slides, we can instead use template slides.
Give the first layout slide a name.
---
layout: true
name: image-sidebar-right
class: image-sidebar-right
Reference the named image-sidebar-right slide with the template property.
Add template: image-sidebar-right to the third slide:
---
template: image-sidebar-right

# This is fun!

1. Sit mattis viverra condimentum orci nibh ultrices cubilia cum ornare eget dictumst?
Parameterize the template
We now have two slides with a lemur sidebar image, and the second one can be anywhere later in the slide deck. This is great! But for our final step, we’ll take template slides one step further.
In this step, we’ll parameterize the slide template and make it easy to swap out the background image for any other image.
Move background-image from the named layout slide to the first Awesome Lemurs slide.
---
background-image: url(https://source.unsplash.com/83gB_koMuvA/400x681)

# Awesome Lemurs
Add a new background to the This is fun! slide.
I’ve picked one out for this round:
background-image: url(https://source.unsplash.com/tXz6g8JYYoI/400x681)
This looks great, but the attribution and alt text are wrong. 😥
Create a slide variable for the photo description.
- Select and cut the photo description in the layout slide and replace it with
{{photo_alt}}. - Add
photo_alt:to the slide properties of the first Awesome Lemurs slide. - Paste the alt text into the new slide property.
- Save it to re-render the slides and check that the Awesome Lemurs slide looks the same.
Checkpoint
<span role="img" aria-label="Slide background shows: {{photo_alt}}"></span>

---
background-image: url(https://source.unsplash.com/83gB_koMuvA/400x681)
photo_alt: A lemur standing on a tree stump, looking directly at the camera.
Repeat the task above for photographer and photographer_url.
Checkpoint
<span role="img" aria-label="Slide background shows: {{photo_alt}}"></span>

.attribution[
Photo by [{{photographer}}]({{photographer_url}})
]

---
background-image: url(https://source.unsplash.com/83gB_koMuvA/400x681)
photo_alt: A lemur standing on a tree stump, looking directly at the camera.
photographer: Zdeněk Macháček
photographer_url: https://unsplash.com/@zmachacek
Fill out the slide parameters of the This is fun! slide.
| Unsplash | https://source.unsplash.com/tXz6g8JYYoI/400x681 |
| Photographer | Lidya Nada |
| URL | https://unsplash.com/@lidyanada |
| Description | A colorful image of a woman holding a bouquet of helium balloons in the shape of emoji against a brick wall painted in bright shades of blue, red, yellow and green. |
Checkpoint
---
background-image: url(https://source.unsplash.com/tXz6g8JYYoI/400x681)
photographer: Lidya Nada
photographer_url: https://unsplash.com/@lidyanada
photo_alt: A colorful image of a woman holding a bouquet of helium balloons in the shape of emoji against a brick wall painted in bright shades of blue, red, yellow and green.
Make another slide
🎉 Great work! Want to take it one more step? Pick your own image from unsplash and make a new slide with the required pieces.